
Camera and navigation
Creator has one camera and it flies. You hold the right mouse button to look and to move, and you let go to get your cursor back for editing. Everything else on this page is about covering ground fast on a map that can be 6000 meters across.
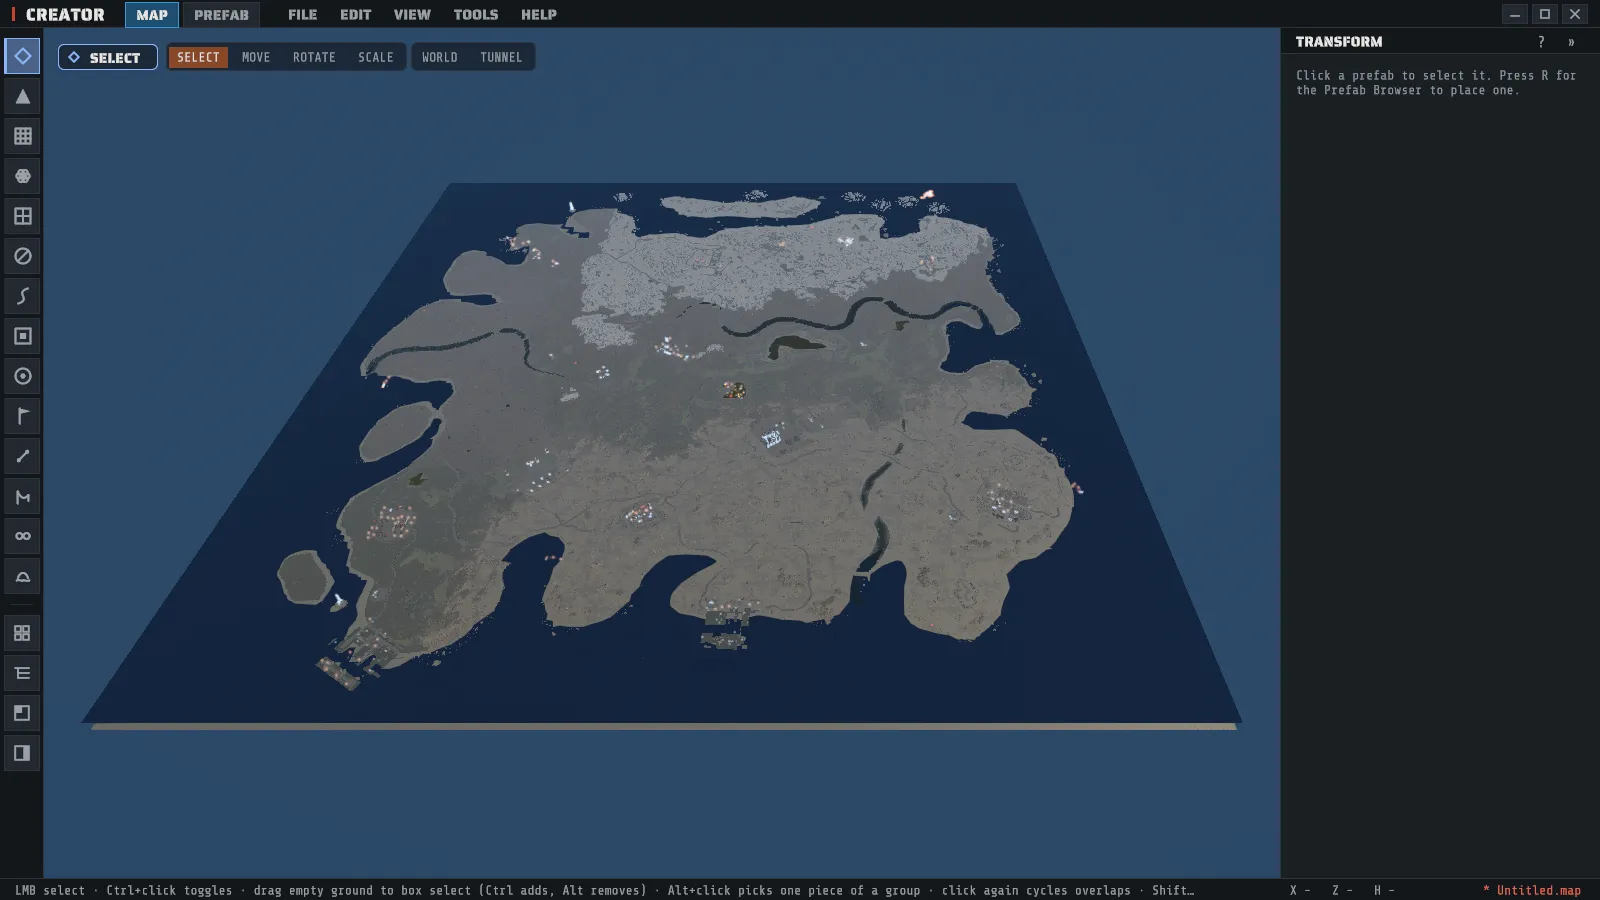
Hold the right mouse button to fly. While you hold it, the mouse looks and these keys move you.
| Key | Moves the camera |
|---|---|
W / S | Forward and back, along the way you are looking |
A / D | Left and right |
Q / E | Straight up and straight down |
Let go of the button and those same letters are tool shortcuts again: S picks the Select tool, E
does nothing, and so on. That is deliberate, and it is what lets one keyboard carry both grammars. The
keys are listed with everything else on Keyboard shortcuts.
Two modifiers matter while you are flying.
| Input | What it does |
|---|---|
Hold Shift | Boost. Five times the base speed by default. |
| Scroll the wheel | Changes the base speed itself, in 10 percent steps, and it sticks. |
The base speed starts at 40 meters per second and the wheel takes it from 10 up to 2000. Every notch shows the new speed for a moment at the bottom of the view, for example “Camera speed 12 m/s”, and a notch that cannot go any further says so: “Camera speed 10 m/s (minimum)” or “(maximum)”. The readout never takes a click or a key, so you can keep flying through it.
The speed you scroll to is remembered between sessions, and the Speed slider in Preferences > GENERAL follows it, even while the panel is open. 10 meters per second is the slowest the camera goes, so it always visibly moves; for fine work, place things with the gizmo, snap and the nudge keys rather than by flying slower.
Scrolling while your pointer is over a panel scrolls the panel instead, so the speed you set does not change underneath you when you go to use the inspector.
The camera also stops flying, on purpose, while you are typing in a field, while a dialog is open and while you are capturing a new keybind. If the camera seems stuck, look for a dialog or a focused text box first. If it moves but slowly, scroll the wheel up over the map and watch the speed readout.
Frame what you care about
Section titled “Frame what you care about”F is the one key that saves the most time.
- Select a prefab (see Select and transform).
- Press
F. The camera moves to a padded oblique view of everything in the selection, whatever its size, and the view distance opens up far enough to keep it drawn. - Press
Fwith nothing selected and you get the whole-map view instead: high, tilted down, with the draw distance set from the map’s own size.
That second behavior is the fastest way to reset a lost camera. If you have flown out over the ocean
and cannot find the island, clear the selection with Esc and press F.
See where you are
Section titled “See where you are”| What you want | Where it is |
|---|---|
| Your pointer’s exact spot on the terrain | The center of the status bar, as X, Z and H in meters |
| The map from above, with monuments, roads, rivers and your camera on it | Map Overview, Tab. See The map overview |
| Every placed prefab as a list you can search | Scene Hierarchy, H. Clicking a row selects it, and F then frames it |
The overview is the navigation tool for a big map: find the monument on the picture, click the prefab
in the hierarchy, press F, and you are there without flying.
Light and dark
Section titled “Light and dark”Nights on a real Rust map are dark, and so are interiors.
Lturns on a warm headlamp that rides the camera. The VIEW menu’s camera-light entry says whether it is on, and its brightness is the Light multiplier slider in Preferences.- The time of day is yours to set in VIEW > Time / Weather…, which is usually the better fix: see Time and weather.
Under the sea and under the ground
Section titled “Under the sea and under the ground”Fly below the sea level and the view takes on a blue-green water tint with a light haze that thickens with distance, so the seabed, the reefs and a lab a hundred meters off stay easy to read. The haze is an editing view, deliberately clearer than a swimming player sees in the game, and it never covers anything completely.
If you want no haze at all, turn off VIEW > Underwater Haze. The view under the sea is then as clear as it is above it, with no tint and no haze. The setting is remembered between sessions, and it starts on.
Keep going down through the ground and the tint switches off: the train tunnels and the other underground corridors sit well below the surface, and from inside the ground the view is clear. That is where you fly to work on them.
The camera settings worth knowing about
Section titled “The camera settings worth knowing about”Five sliders in Preferences > GENERAL, all of them remembered between sessions: Speed,
Boost multiplier, Look, FOV and View Dist. View Dist is the one with a visible cost,
because it is the camera’s far clip plane: pushing it out draws more of the map at once, and F
raises it on its own when it needs to.
Nothing about the camera is an undo step. Flying, framing, switching the light and changing a setting
all leave your edit history alone, so Ctrl+Z always reverts the last thing you did to the map rather
than the last place you looked.