Import a .raw heightmap and splats into RustEdit (World Creator)
Crucible Heightmap can export your terrain and the ground textures (splats) you painted, then bring them into RustEdit together through its World Creator importer. This page walks the whole import, step by step.
This is the .raw route: a folder of files (heightmap .raw + splat maps + .xml) imported through World Creator. If you just want the fastest path, the
.mapexport opens directly in RustEdit in one step with the same height and splats, see export a Rust .map file. Use this World Creator route when you specifically want the .raw + .xml import.
First, in Crucible Heightmap, open the export panel, turn on XML Splat + Heightmap, and export. That writes a set of files (the heightmap, the splat maps, and a .xml named after your project) into your output folder. See splat painting for how to paint the textures in the first place. Then follow along in RustEdit:
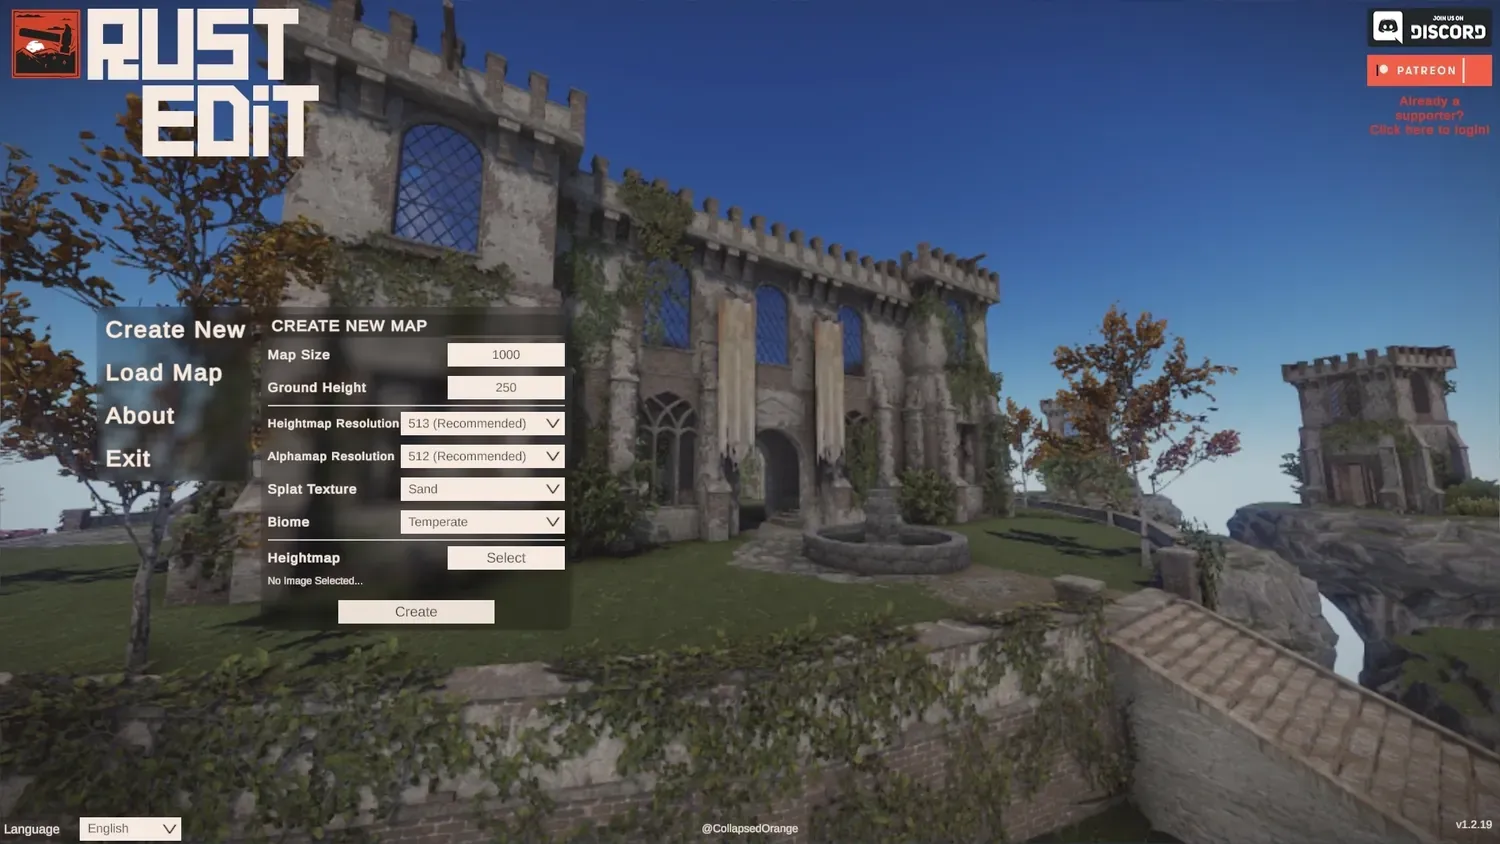
1. Create a new map. Open RustEdit, click Create New, and just click the Create button.
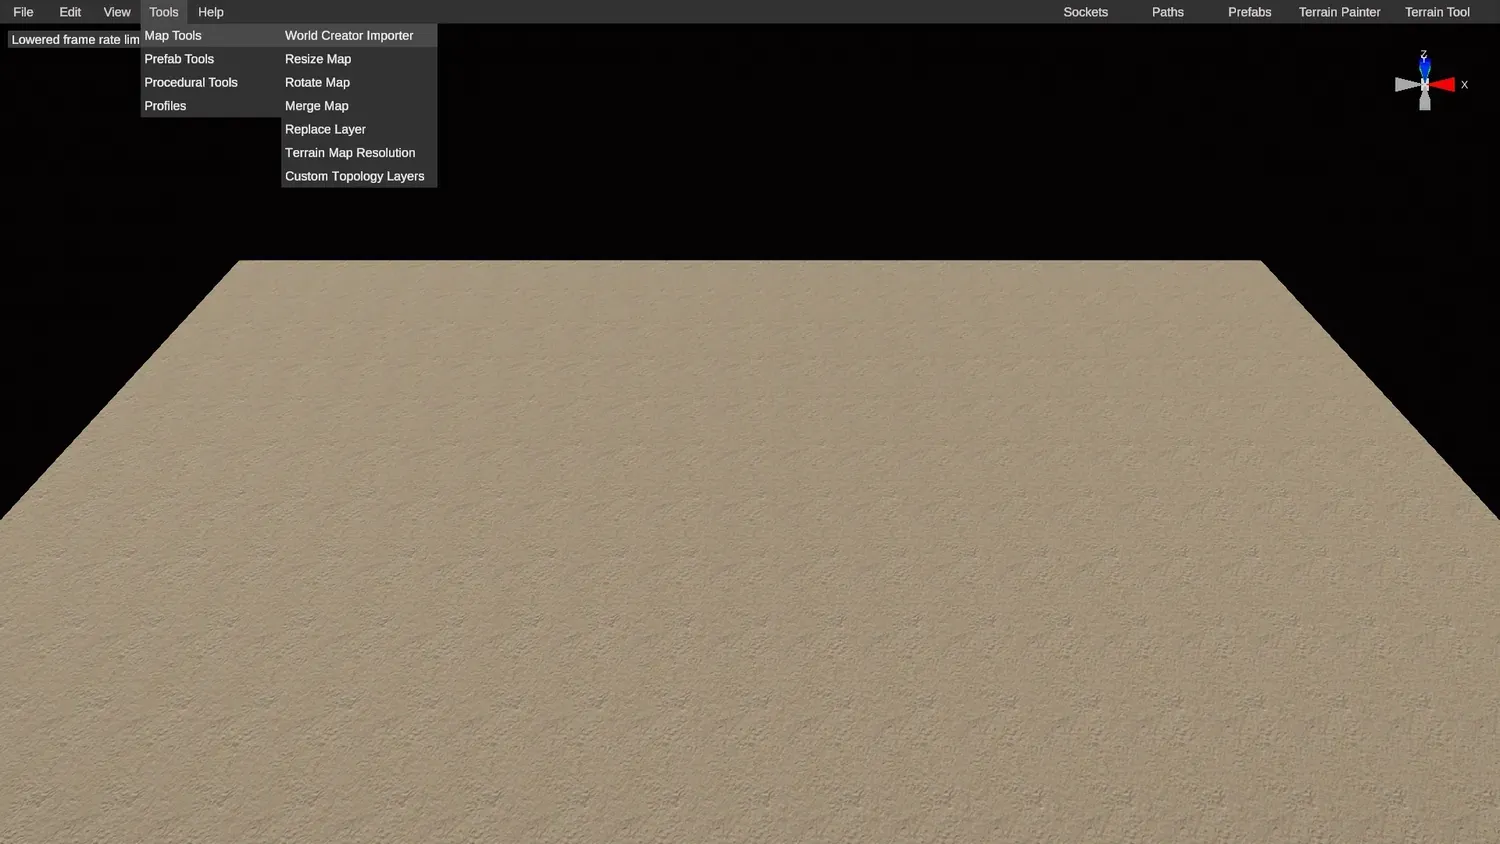
2. You start on a blank slate. RustEdit drops you into an empty map.

3. Open the World Creator importer. Go to Tools, Map Tools, World Creator Importer.
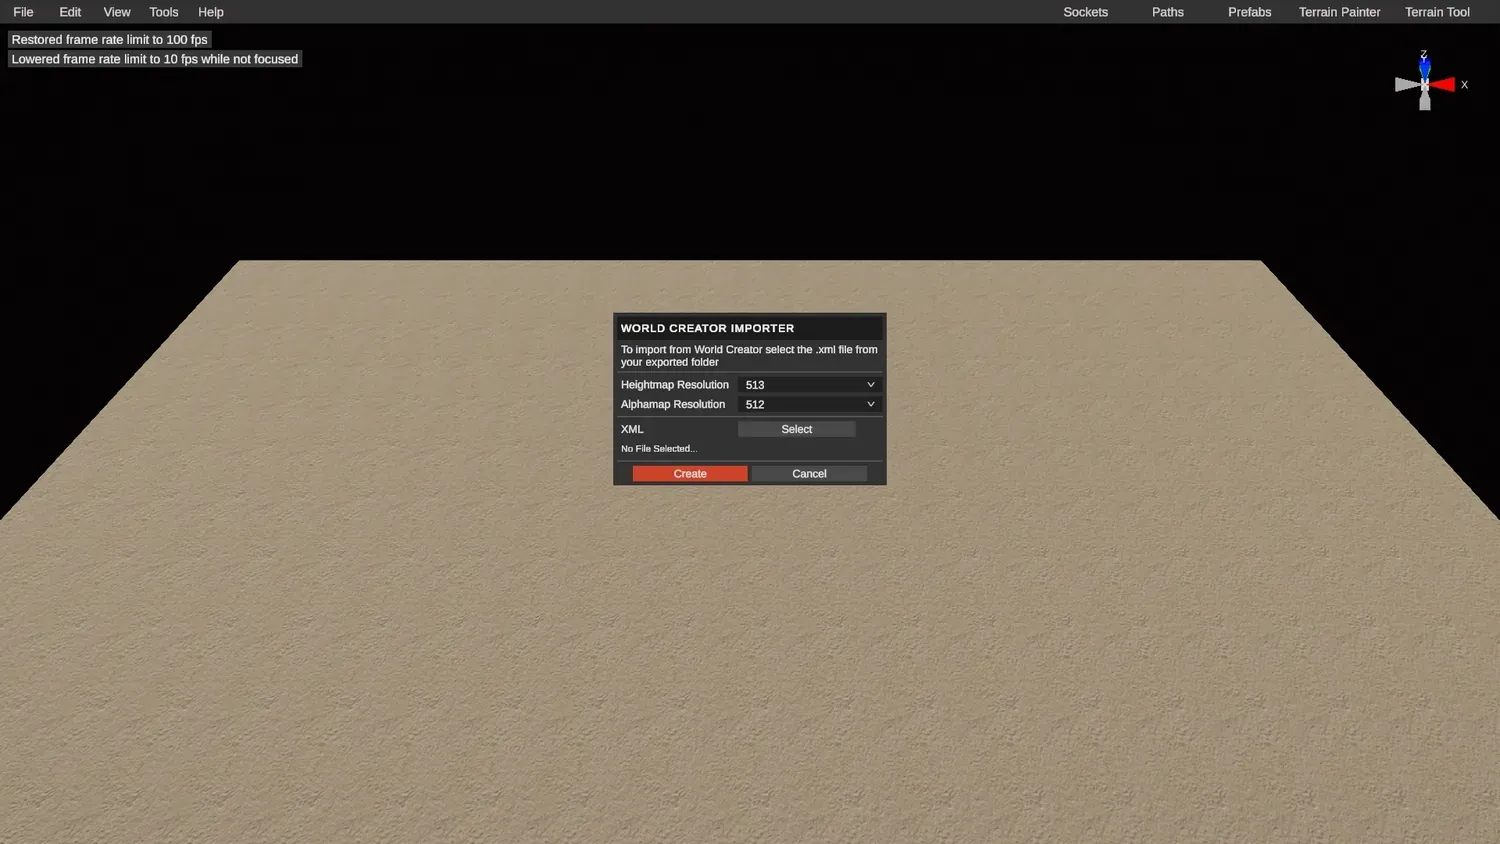
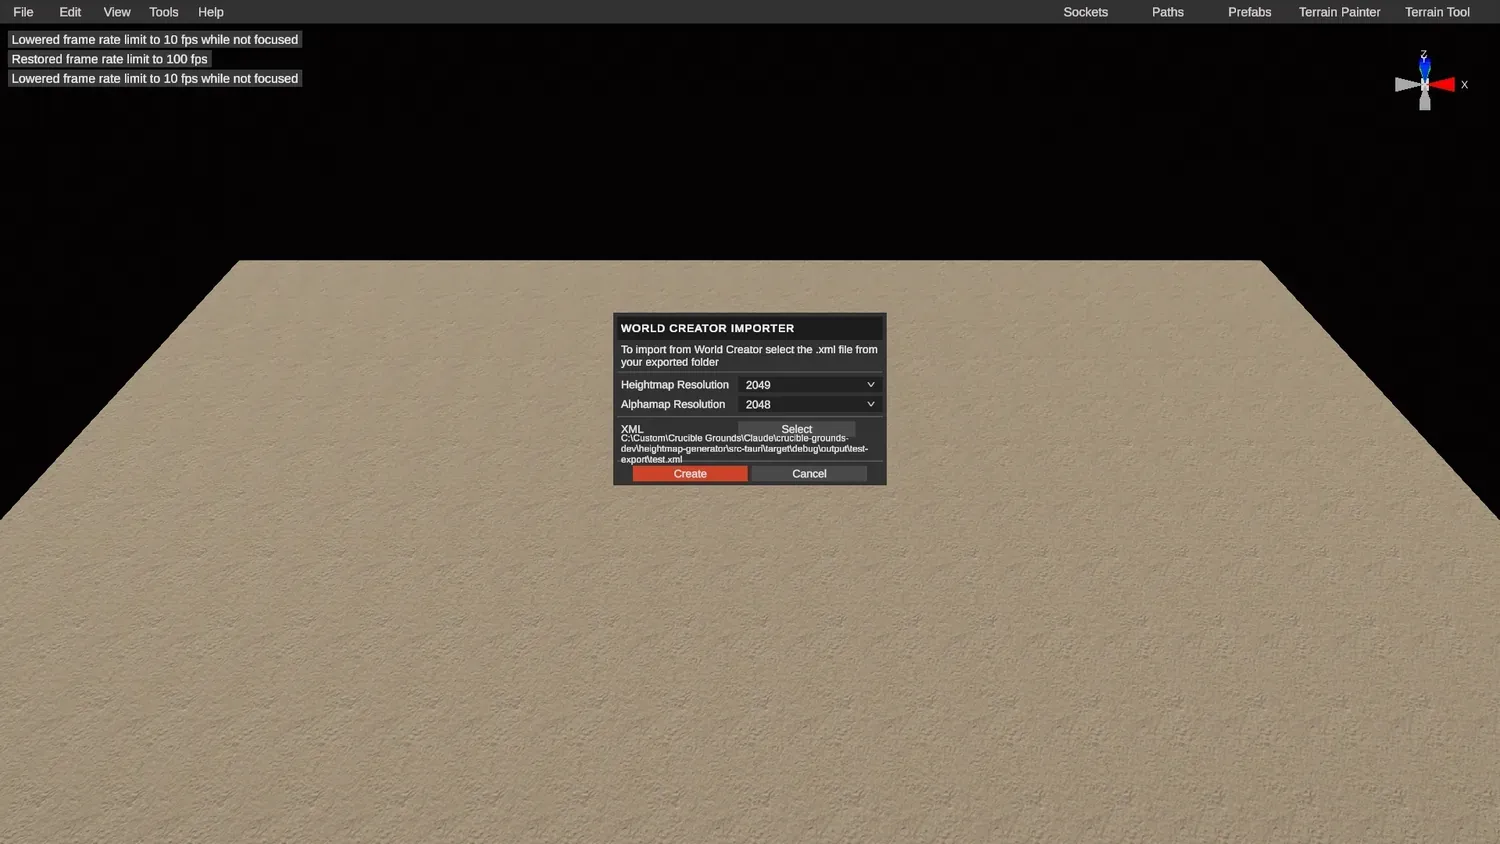
4. Click Select. That opens the importer window.
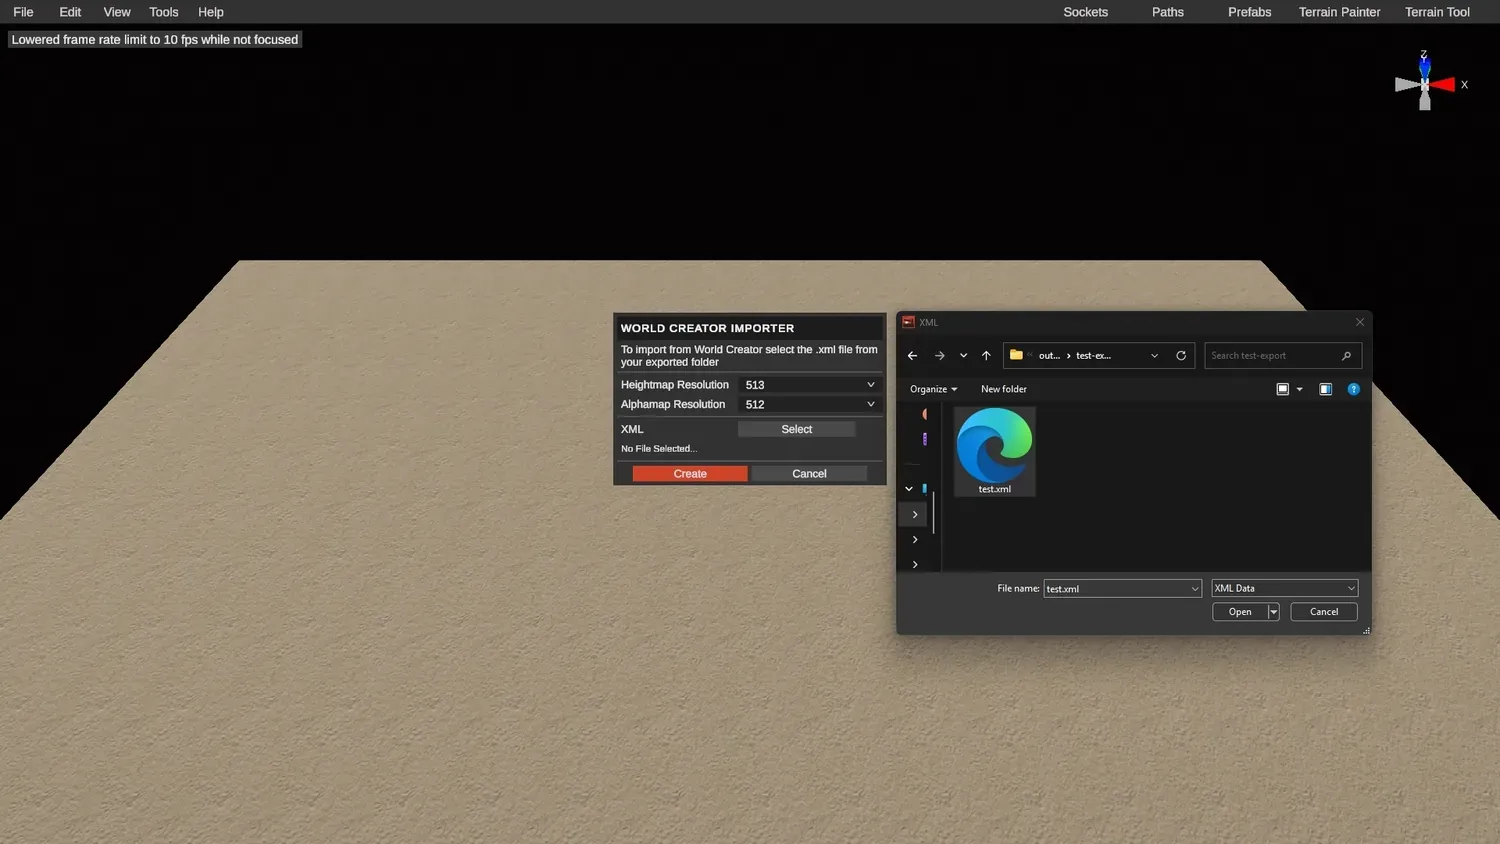
5. Pick your project .xml file. Navigate to your Crucible Heightmap project output folder and select the project’s .xml file.
6. Match the resolution, then create. Set the heightmap and alpha (splat) resolution to your map size, the same size shown in Crucible Heightmap, then click Create.
7. Your map loads in. It comes in with the Crucible base terrain splats, plus any splats you painted yourself.
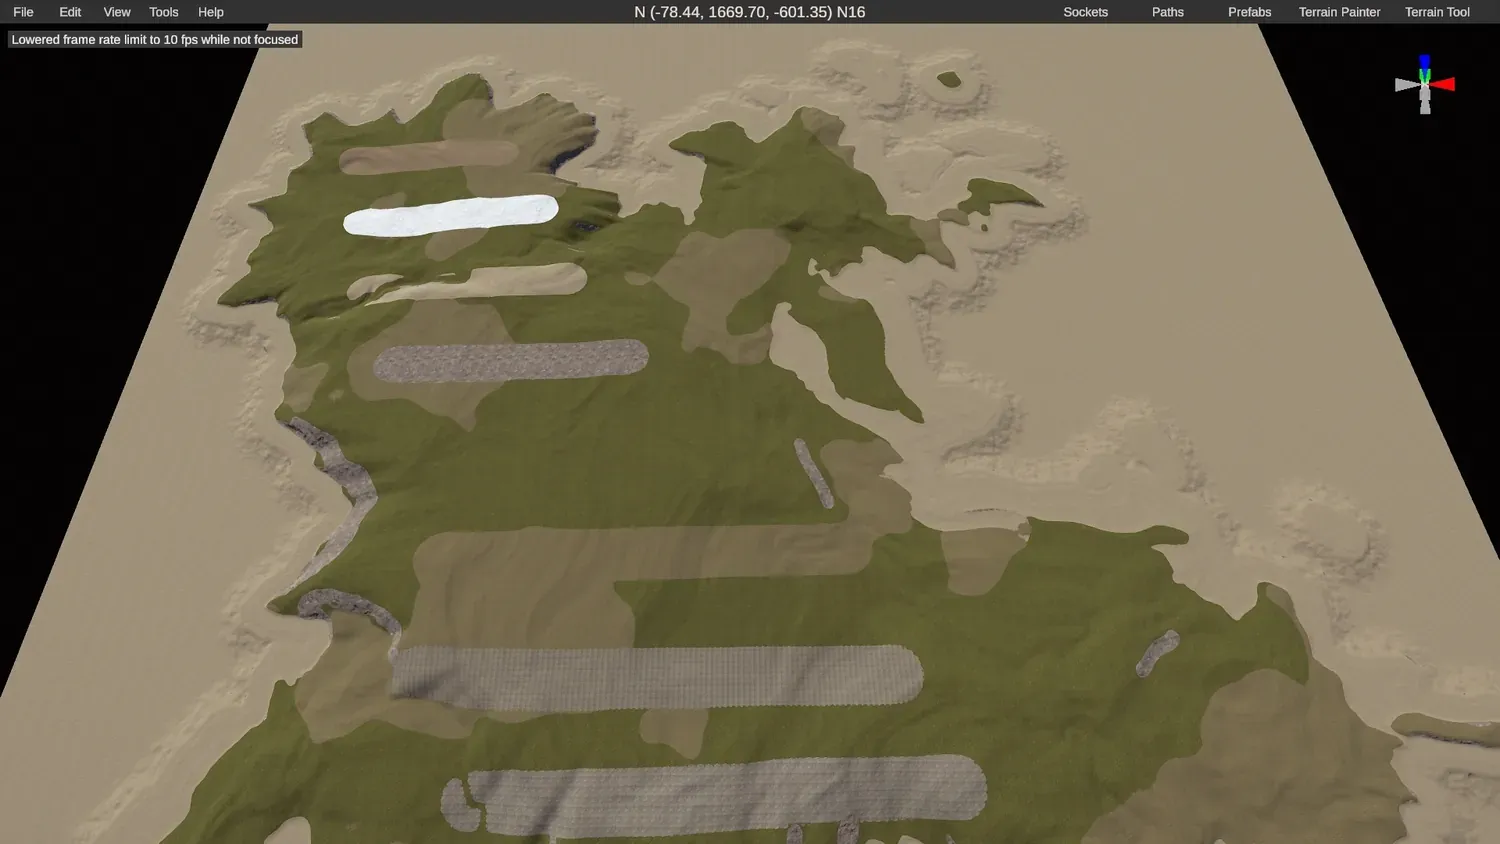
8. Take a look around. Make sure you are happy with the result. If something is off, go back to Crucible and make your edits there before doing anything else in RustEdit.
9. Build out the rest of your map. Once you are happy, start the routine: hand-paint and place everything yourself, or use RustEdit’s procedural generation tools.

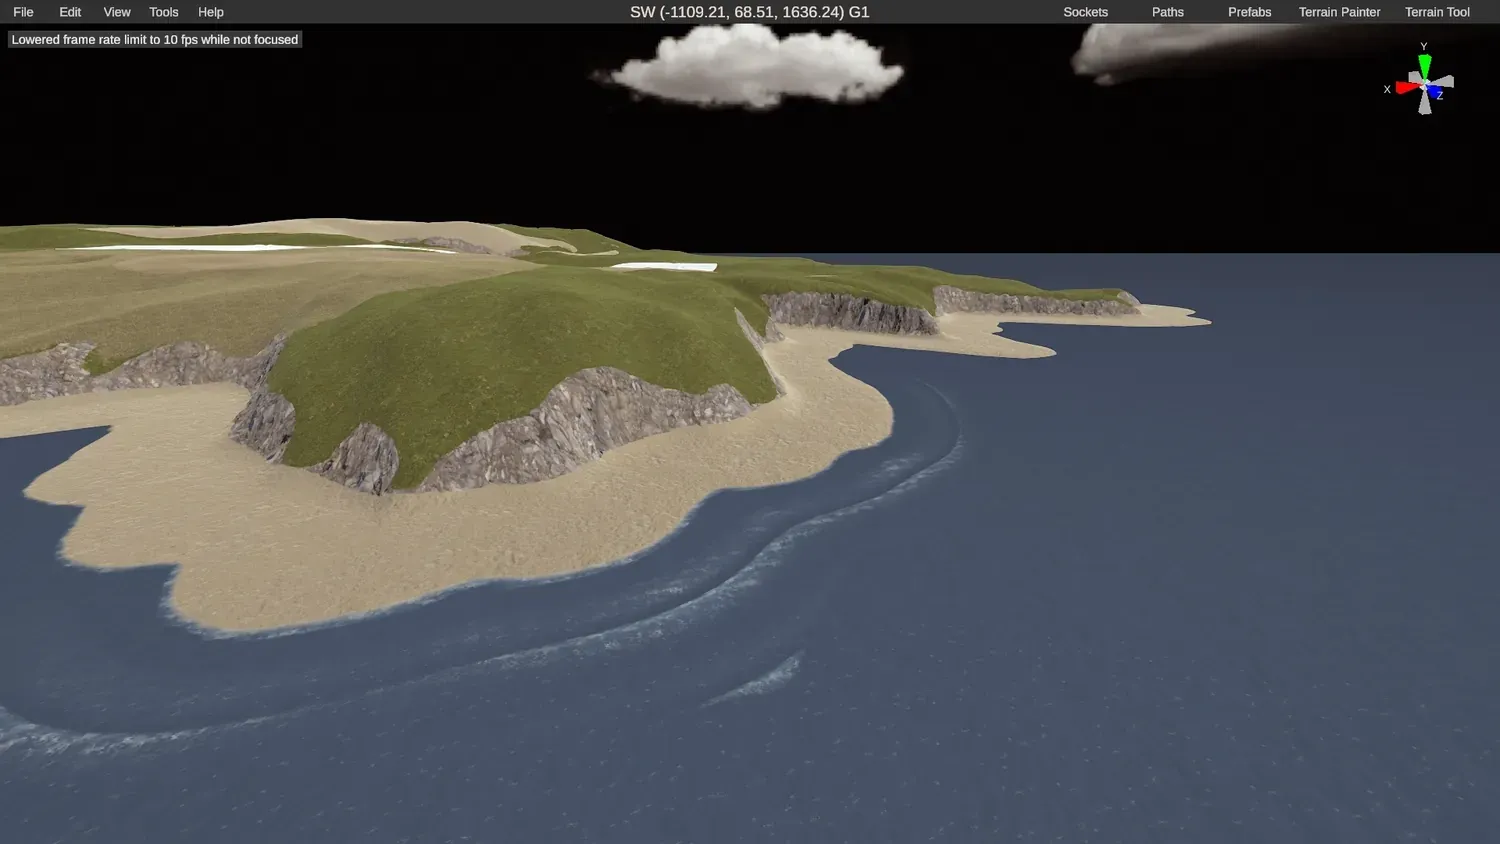
10. Test the ocean topology first. Before you go too crazy with proc gen, turn everything off in this window and test just the ocean topology on its own.
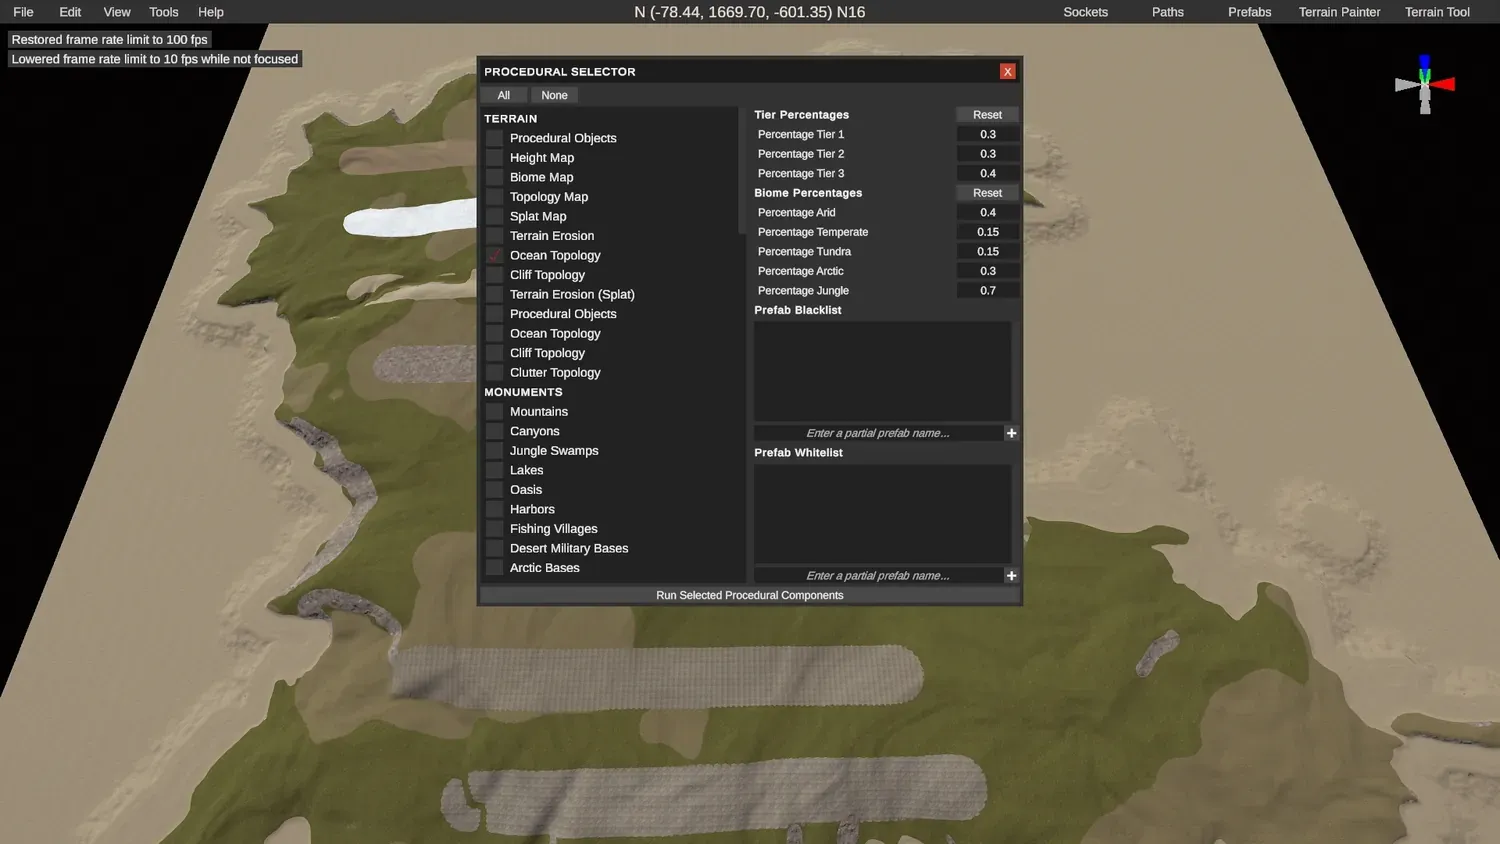
11. Confirm the shape. That gives you a solid idea of your island’s shape and your splats with water around it.
12. Protect your terrain and splats. The key thing to remember: disable the heightmap and the splatmap in the proc gen window so it does not overwrite the terrain and splats you imported from Crucible.
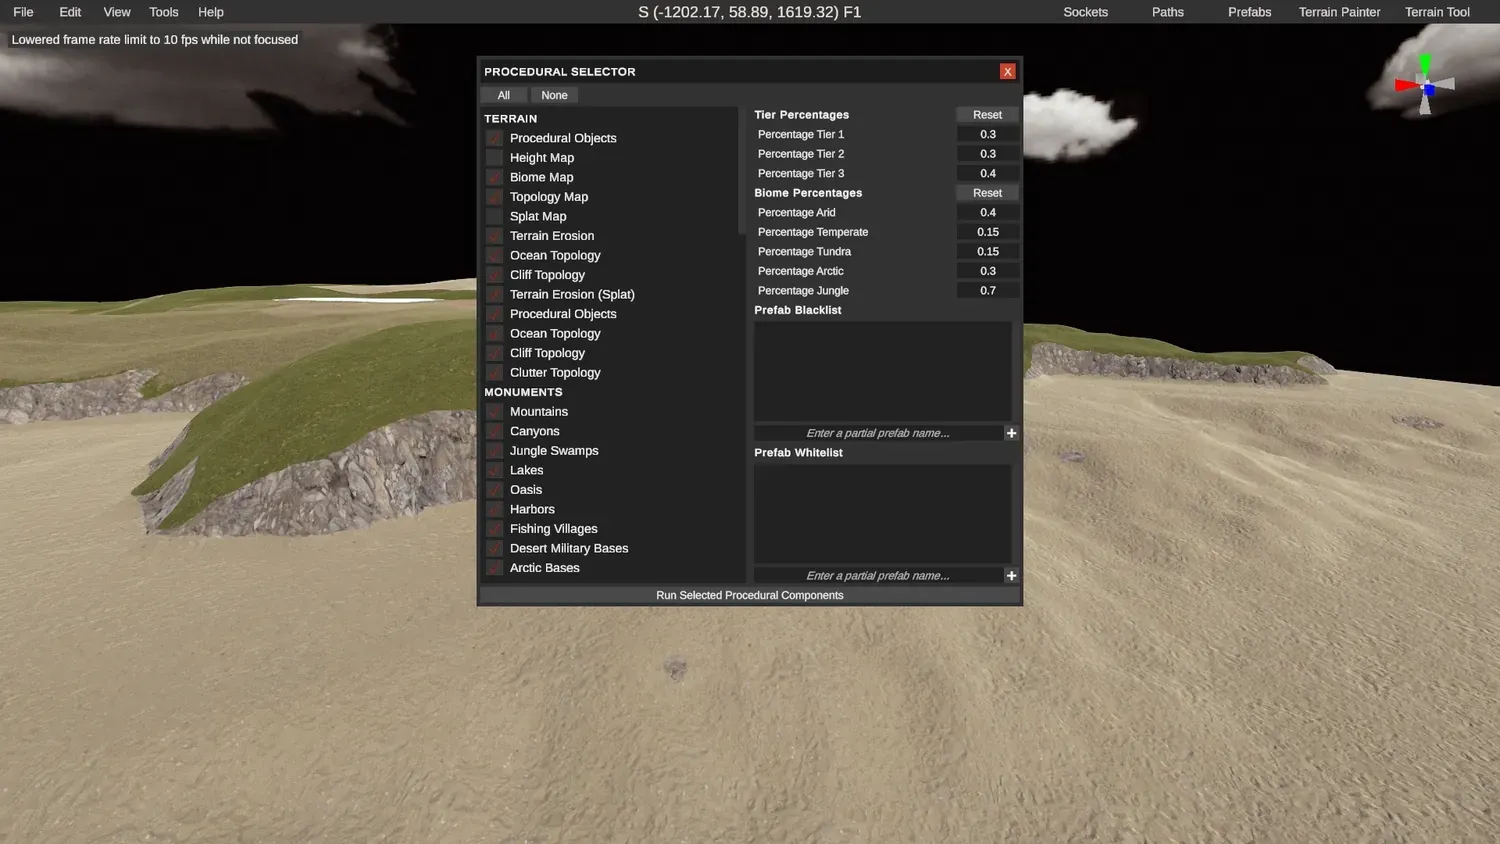
13. Mind biomes and monuments. Keep an eye on biomes and the monuments that spawn. If anything looks strange in an area, that is usually the cause.
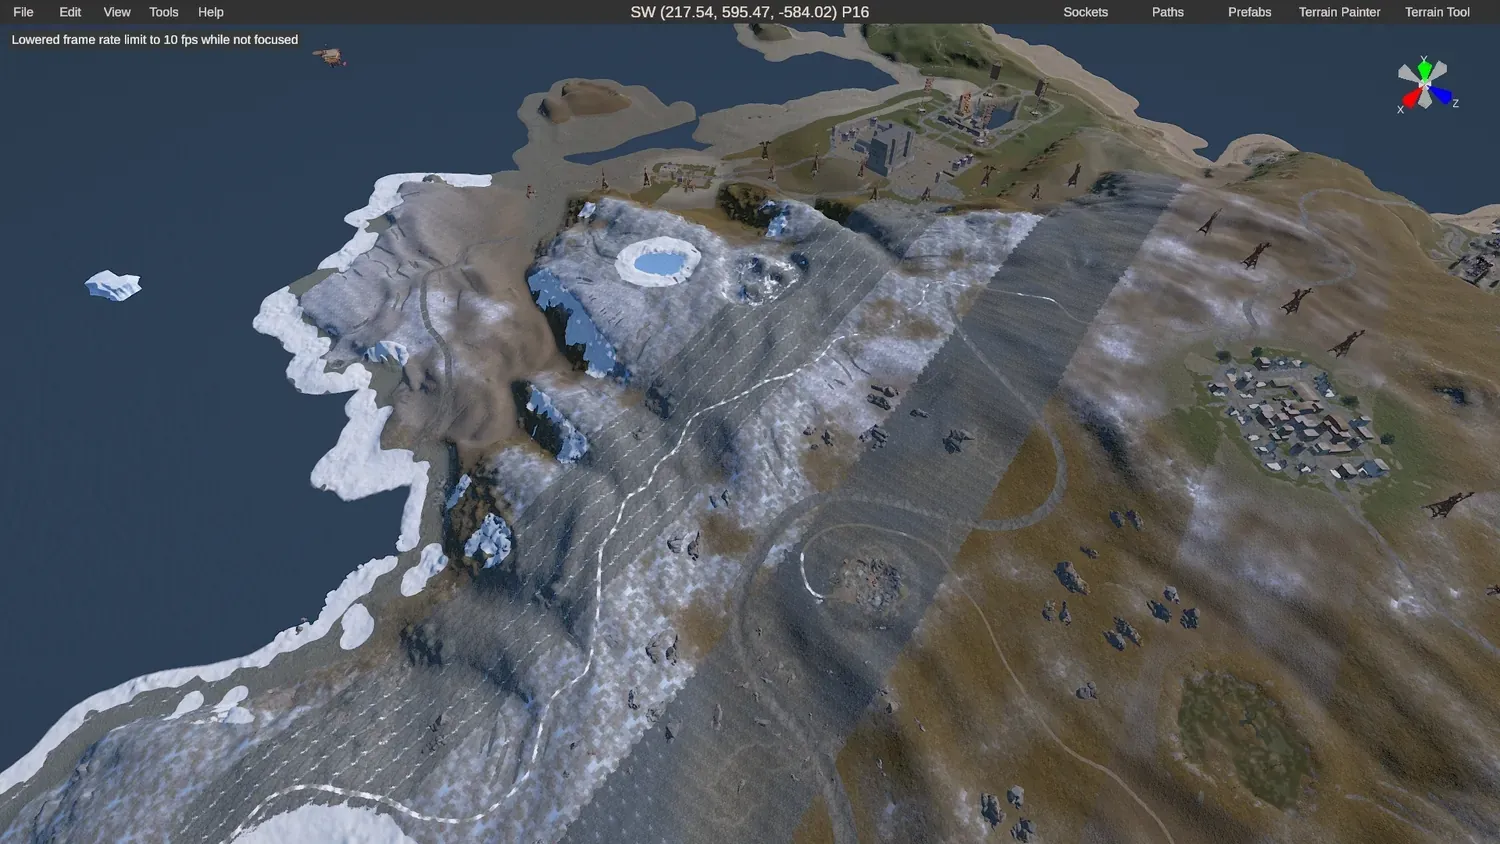
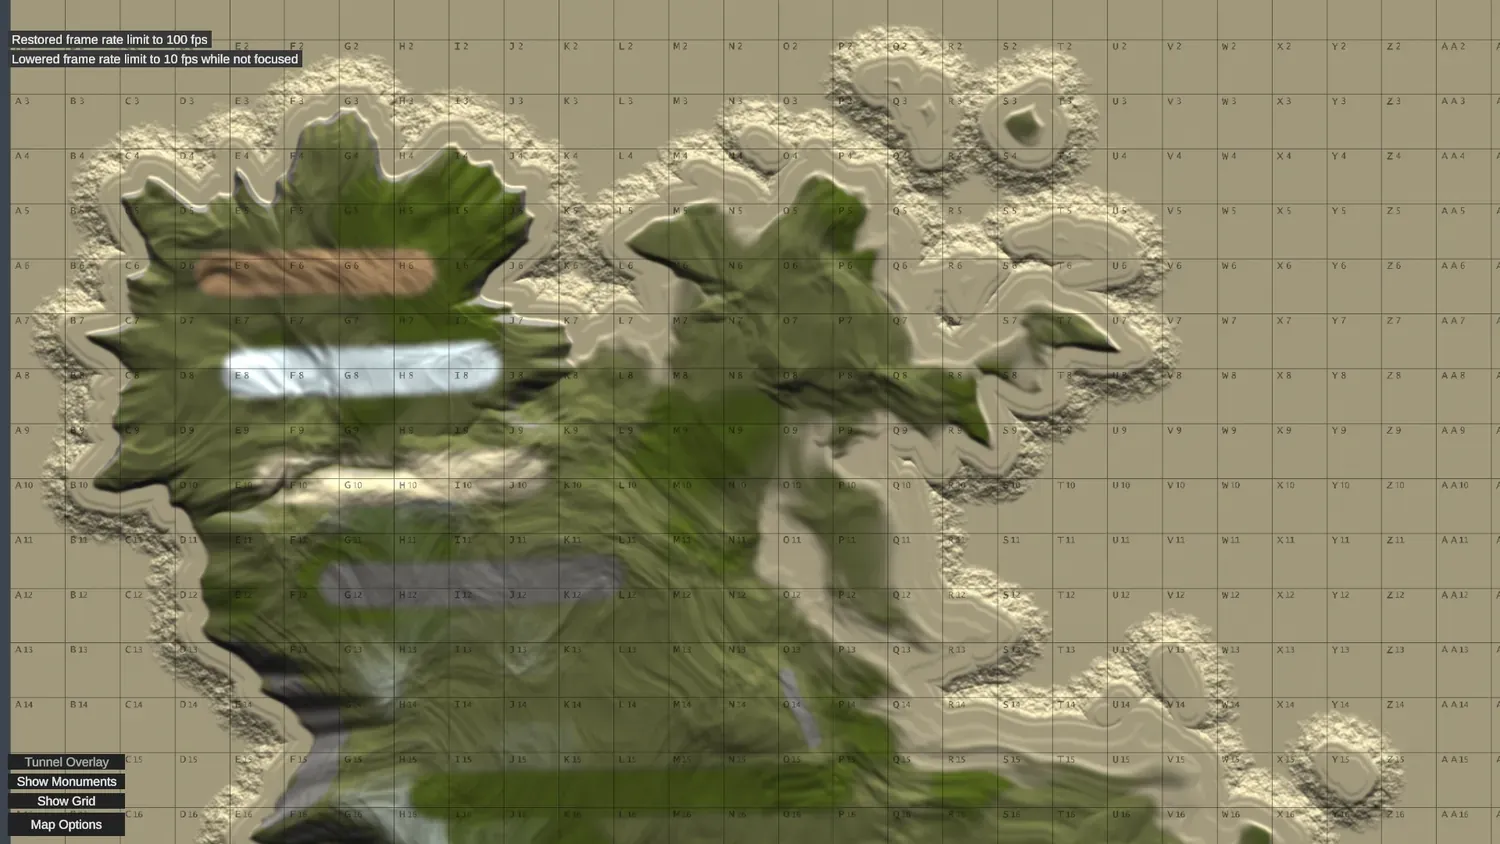
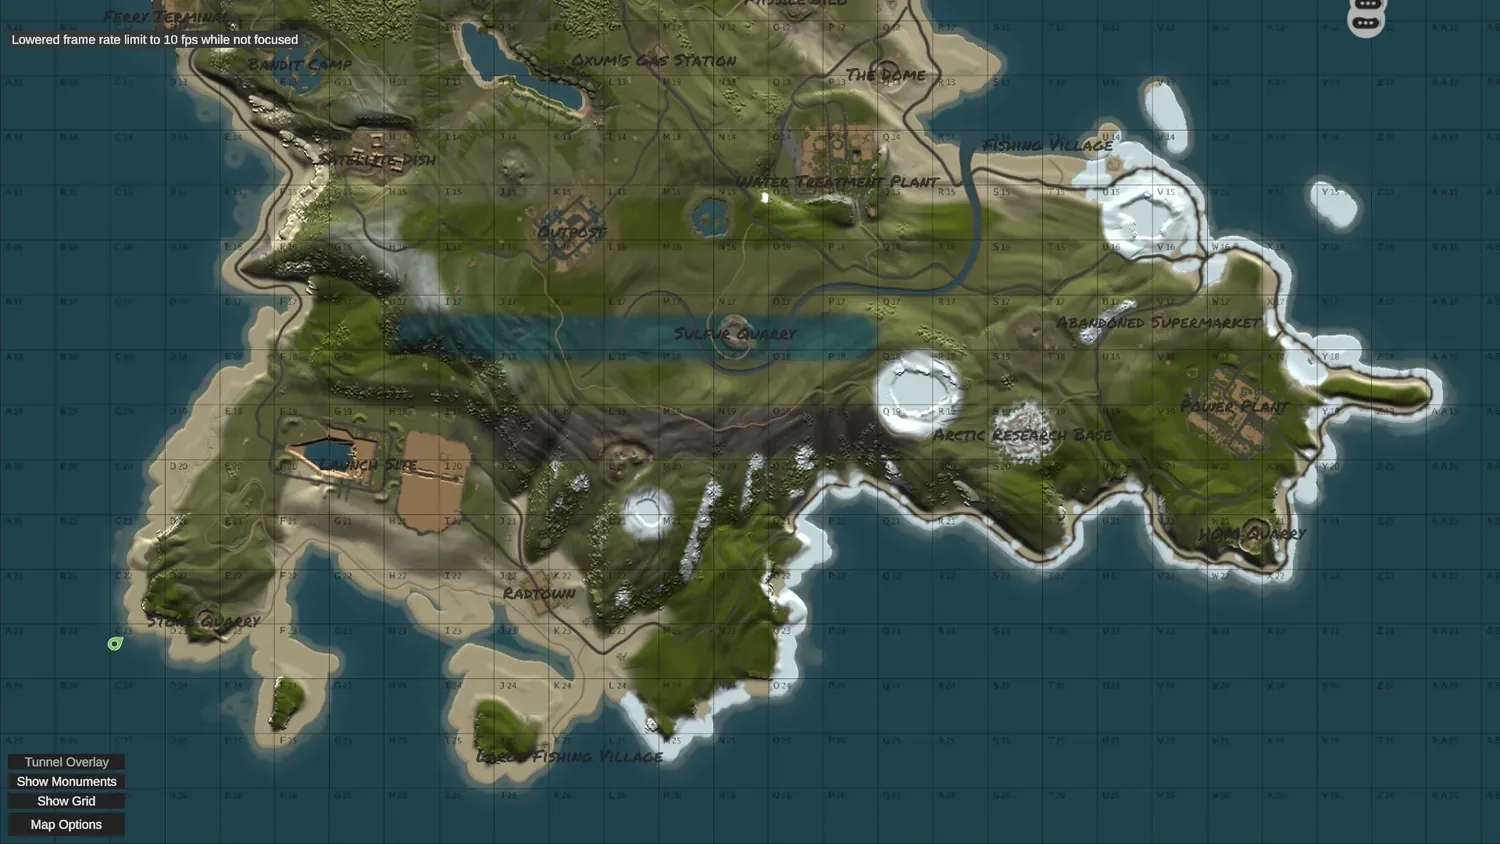
14. The result. A finished-looking custom map built on your imported Crucible terrain and splats.
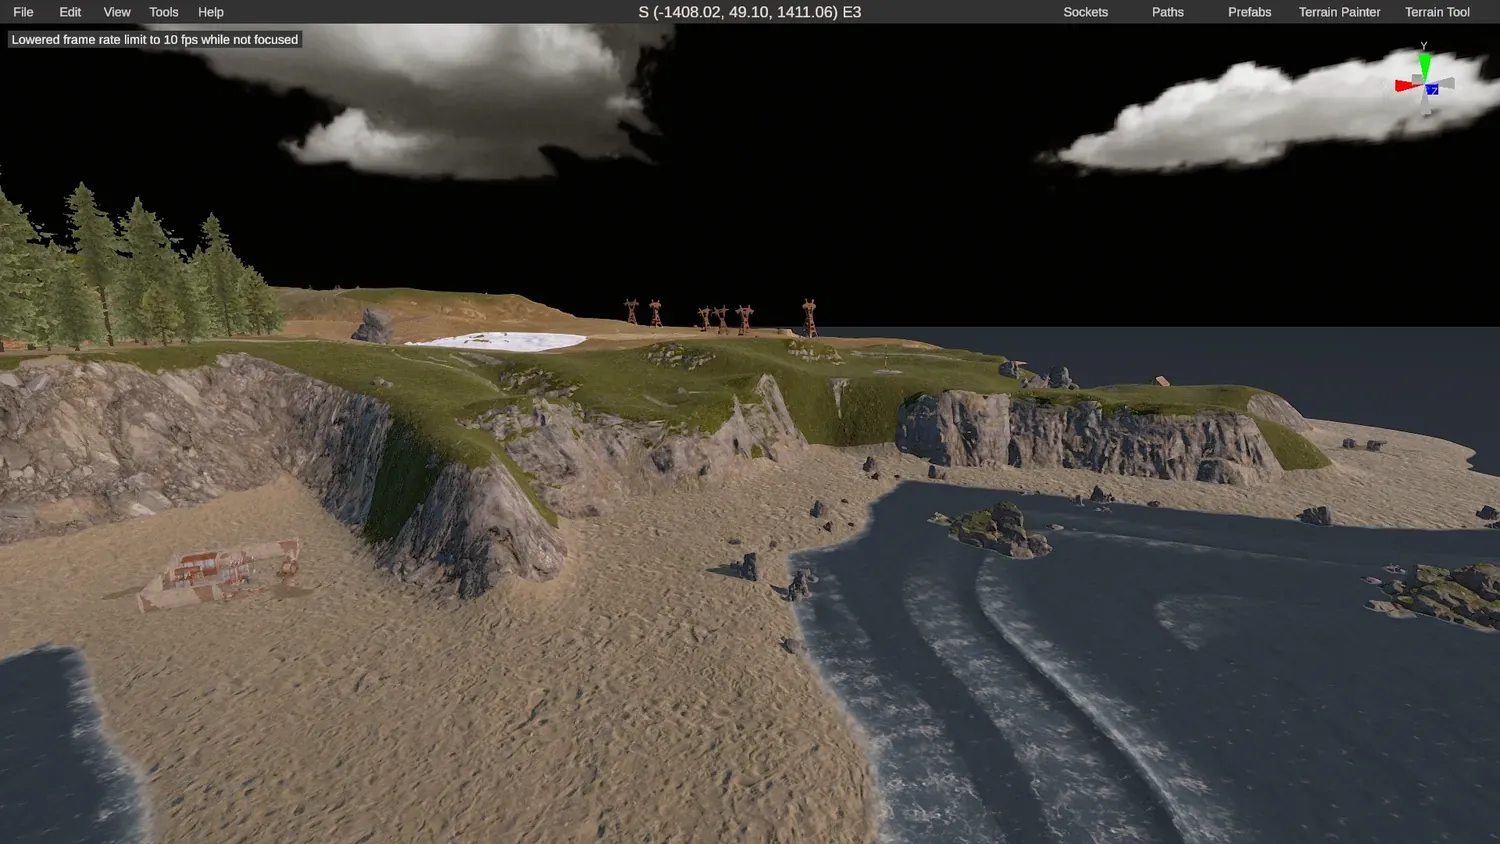
15. Done. Your Crucible map and its splats are imported into RustEdit.
Where to go next
Section titled “Where to go next”- New to painting textures? Start with splat painting.
- Want the full custom-map overview (terrain, monuments, testing)? See how to make a custom Rust map.
- Ready to play it? See test your map on a local server.