How to make a custom Rust map
Making a custom Rust map follows a clear pipeline: generate the terrain in Crucible Heightmap, bring it into RustEdit (the community map editor for Rust), then build the world on top. This guide is the overview of that whole workflow and how the pieces fit together in RustEdit.
The fastest way in is the Rust .map file: Crucible exports a single .map that carries your terrain height and your painted ground textures together, and it opens directly in RustEdit in one step. You can also export a plain 16-bit .raw heightmap and import that as bare terrain instead. Both routes are covered below.
The full custom map workflow
Section titled “The full custom map workflow”- Generate terrain in Crucible Heightmap and shape it with the sliders. See generate your first island.
- Export a Rust
.mapfile (the default export). See export a Rust .map file. Prefer bare terrain? Export a 16-bit .raw instead. - Open it in RustEdit. Open the
.mapdirectly, or import the .raw as your heightmap (both detailed below). - Run RustEdit’s procedural generation for cliffs, biomes and topology.
- Place monuments, roads and prefabs, by hand or procedurally.
- Test on a local server and walk the map in game. The free Crucible Local Server app installs and starts a server for you, or see test your map on a local server for the manual route.
Set the right size before you start: see Rust map sizes and resolutions.
Open your .map file in RustEdit (recommended)
Section titled “Open your .map file in RustEdit (recommended)”The .map file is the quickest way in and the default Crucible export. It already holds your terrain height and your painted ground textures, so you just open one file:
- In Crucible, export a MAP File from the export panel (it is checked by default).
- In RustEdit, open the exported
.mapfile directly. Your terrain and splats load together, no import dialog to line up. - Carry on with proc gen, monuments and testing (below).
Full detail, with the comparison to the .raw route: export a Rust .map file.
Import a .raw heightmap instead
Section titled “Import a .raw heightmap instead”Prefer to start from bare terrain (no splats), or following an older .raw workflow? Export a plain 16-bit .raw and import it as your heightmap:
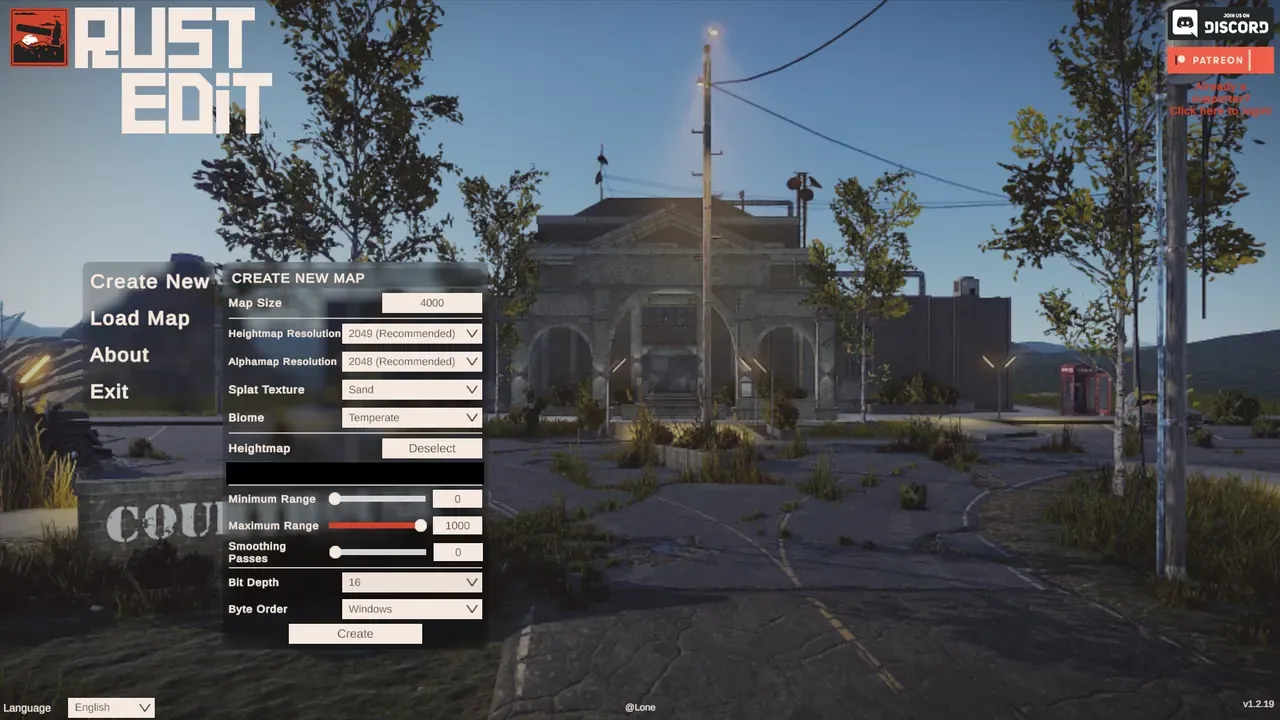
- In Crucible, export your terrain as .raw at your chosen map size.
- Open RustEdit and create a new map at the same map size. In the Create New Map dialog, set the heightmap resolution to match, then pick your .raw file under Heightmap.
- Import the heightmap and choose your .raw file. RustEdit remembers your folder location, so the first time you navigate to your .raw files, future imports open there by default.
- Crucible automatically handles the height range, so you don’t need to adjust anything else besides the map size.
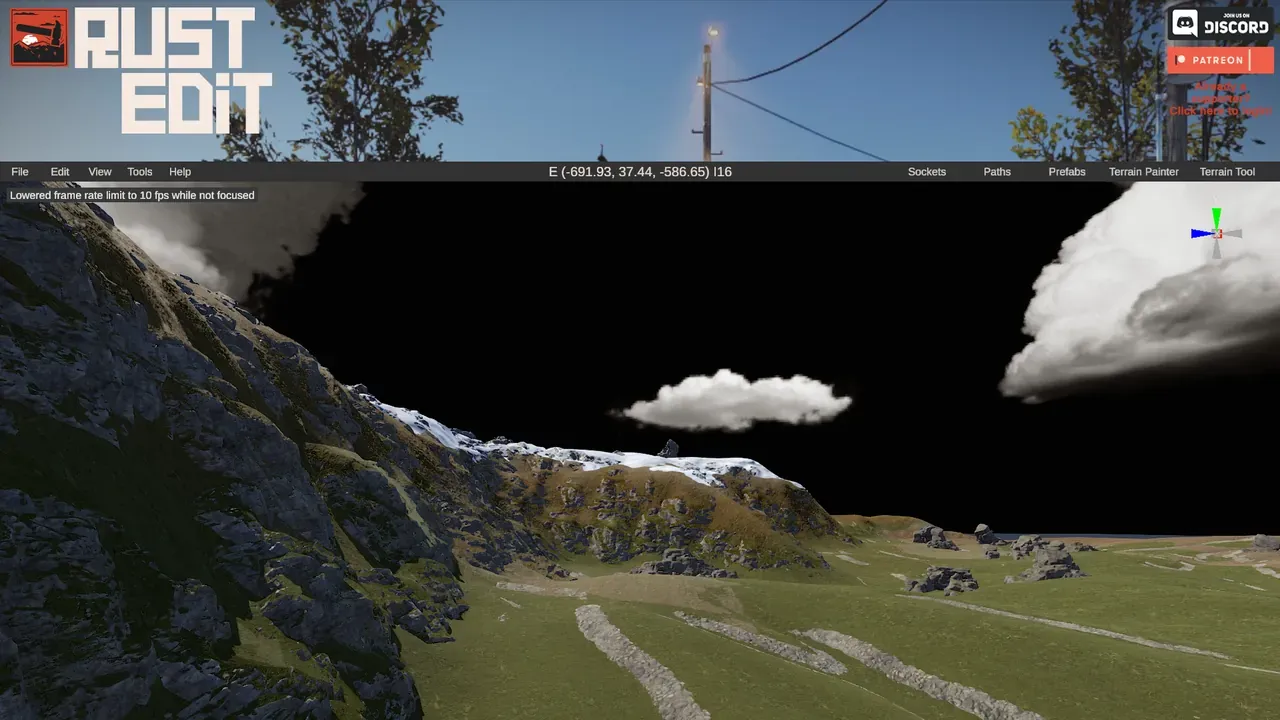
- Apply smoothing passes if you want softer terrain. Crucible terrain is already smooth, so try 3 to 8 passes. The 3D preview already shows what you’ll get, so you rarely need heavy smoothing.
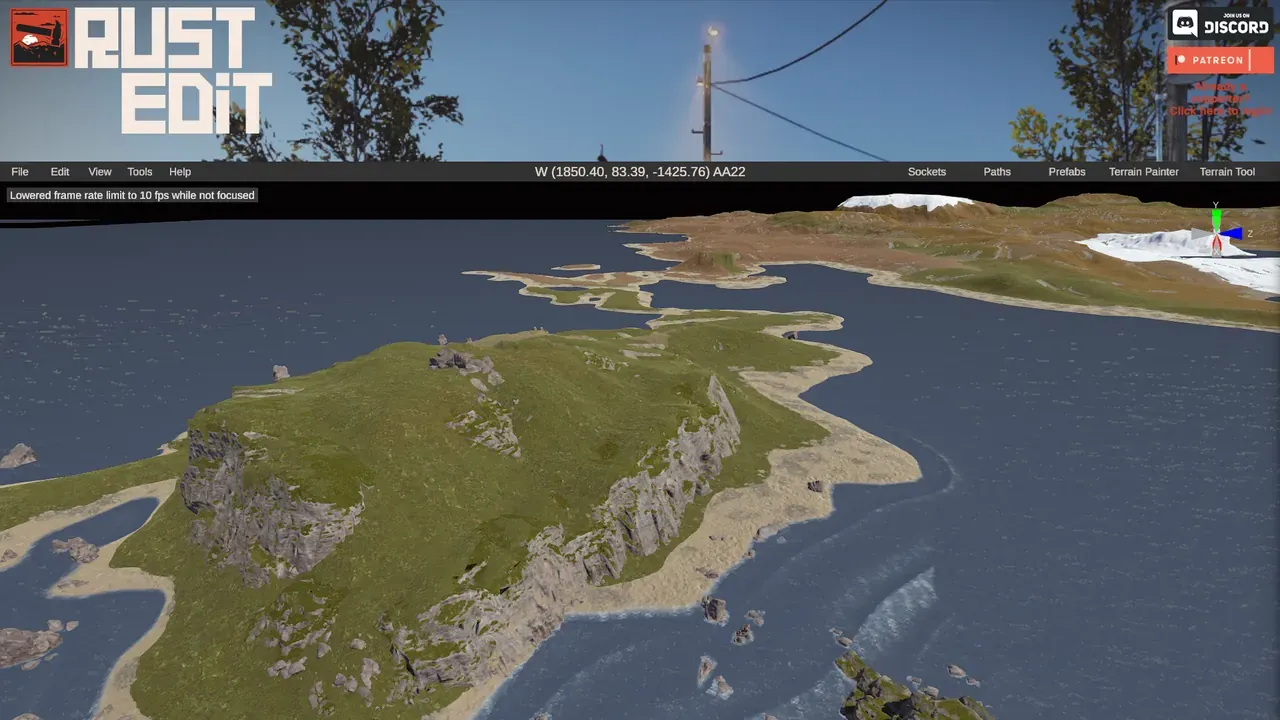
Once imported, your Crucible terrain comes in as raw elevation, ready for the rest of the map:
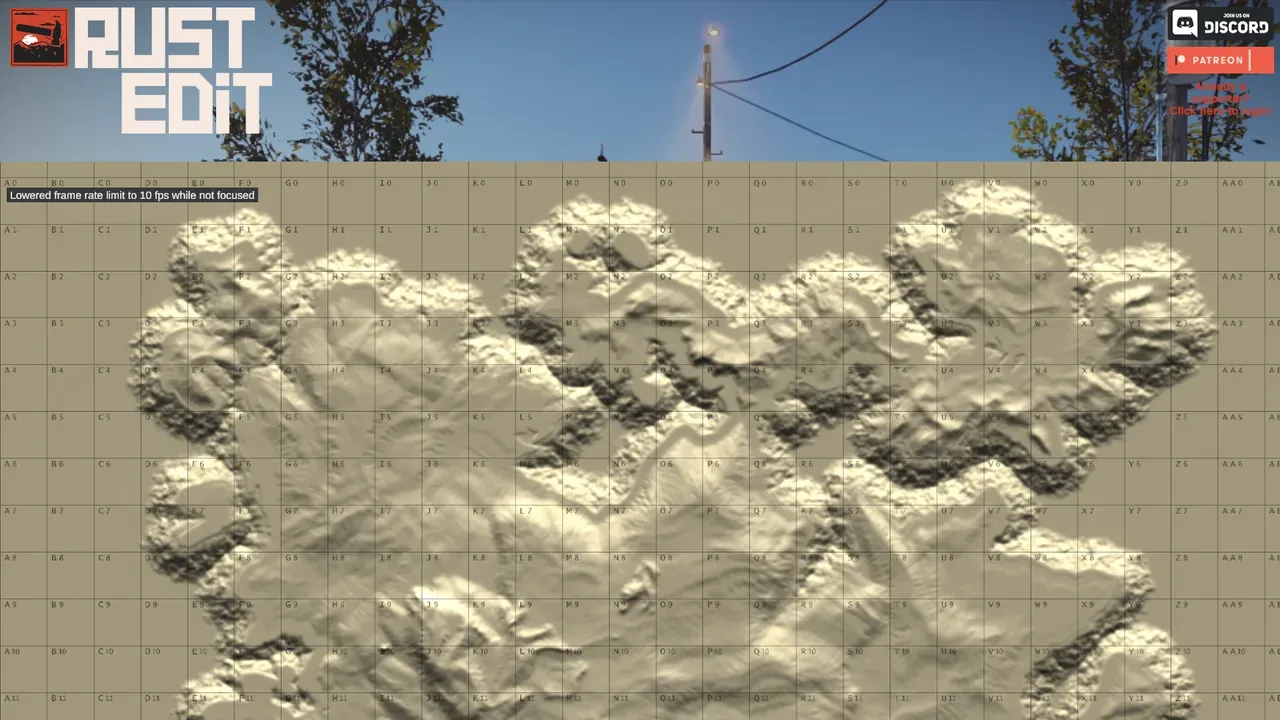
After the import
Section titled “After the import”Once the terrain is in, build the rest of your map. Place monuments, roads, rivers and biomes by hand, or use RustEdit’s proc gen to populate them on top of your terrain. Find proc gen in the Tools menu (top toolbar). Then test it on a local server, or send it straight to a server with Crucible Local Server.
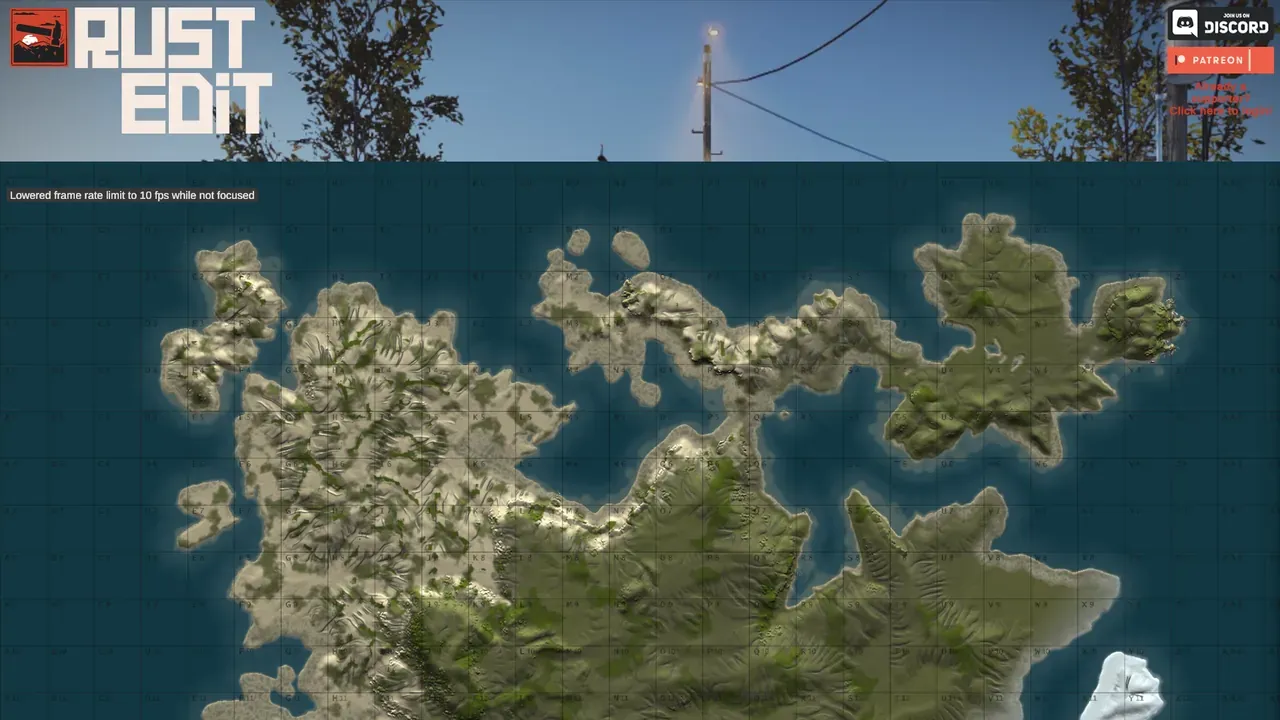
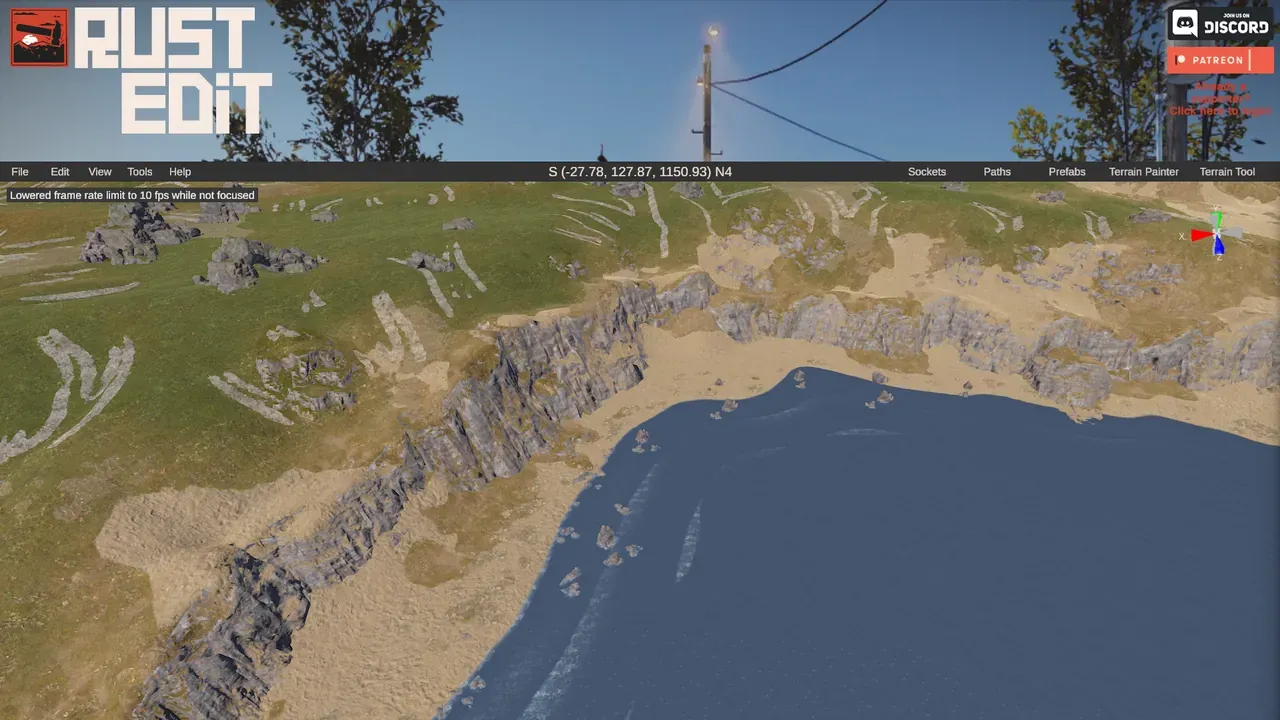
After running RustEdit’s procedural generation for cliffs, splats and biomes, the same terrain becomes a finished-looking map:
Bring your own painted ground textures (optional)
Section titled “Bring your own painted ground textures (optional)”You don’t have to rely only on RustEdit’s procedural splats. If you painted ground textures in Crucible (see splat painting), you can carry them straight into RustEdit, so your dirt, sand, rock, grass, forest and snow land on the real map alongside the terrain. The simplest way is to export a MAP File, which opens in RustEdit directly with your splats already on it (see export a Rust .map file). For the World Creator route instead, turn on XML Splat + Heightmap in Crucible’s export panel, then follow the full picture-by-picture walkthrough: import a heightmap and splats into RustEdit with World Creator.
Exact ranges and smoothing are personal taste and depend on your terrain, so experiment and re-import until it feels right. Save files with different version names before each big change so you can compare and revert if needed. If you’re new to RustEdit’s proc gen tool, try adding one or two settings at a time to understand how each works before mixing many options together.